Adding an USB hub to keyboard
So long time a go, I saw this keyboard with an usb hub build in, I think it was apple that had made it, I really can’t remember it. But anyway I wanted a keyboard with an usb hub buildin, not that it would make my life easier but because then I would have one less thing on my table.
I have two usb hub, one with an external power supply and one with out the external power supply, but this one has tree port in front, and one in the back, which suites the purpurs of this mod, just fine. So the plan is use the one in the back for the keyboard, an the tree others for other usages.
Hardware
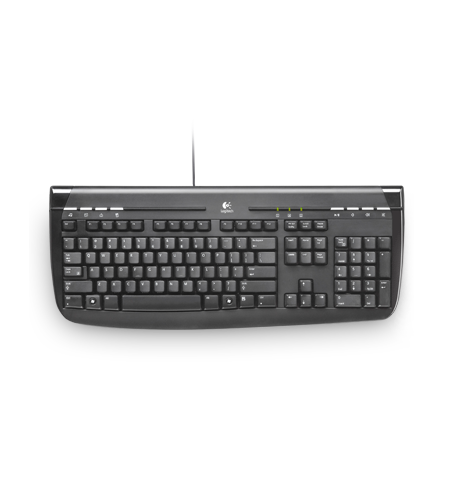
- Keyboard Logitech Internet 350 USB Keyboard
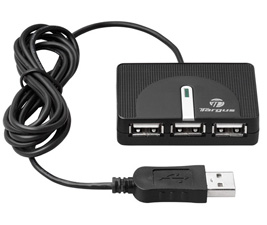
- USB Hub Targus USB Hub ACH93EU
The plan
I have put my plan into steps:
- Disassemble the usb hub and keyboard
- Disconnect the usb cable from the keyboard
- Disconnect the usb cable from the hub and disconnect one of the usb ports
- See where the usb hub pcb can fit in the keyboard
- Drill/cut 3 ports into the keyboard’s case
- Wire the keyboard directly to the disconnected port on the usb hub
- Wire the keyboards old usb cable to the usb hub
- Check if it works
- Close it up
So this is the plan, and the time for implementing it.
Implementing the plan
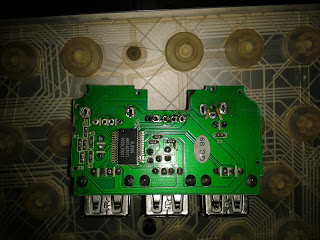
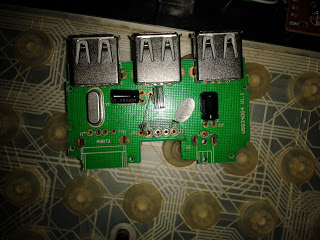
First disassemble the usb hub and found this:
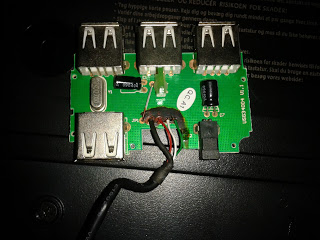
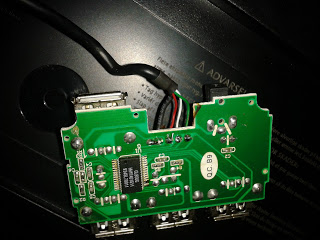
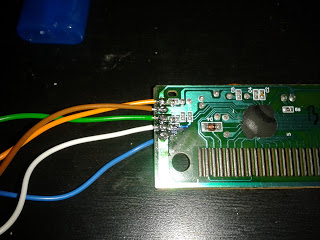
Take note of where the wires are connected (taking a picture, is a good way to do it), as we need to make sure where they connect. This is done because some of the connections can be altere as of the PCB design. Not to solder one of the usb header, power connector and the wires off, like this.
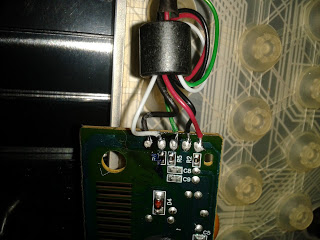
Now to take the keyboard apart. As you properly can see from the pictures above I took both the usb hub and the keyboard apart at the same time. In this keyboard there is a lot of screws, it is almost silly that there is so many screws. There is two screws under the keys “Caps-lock” / “Tab” (you need to remove those two to get to one screw) and one screw under the “+” on the numberpad. On the bottom there is, about 18 screws, I told you that is silly how many screws there is. Remove those screws. Now you should be able to open the keyboard, there you can see the workings of the keyboard, the one thing we are interested in is the PCB where the usb connection are connected to. Again take note of where the wires are connected, are going to remove the wires:
After removing the wires, remove the silicone buttons. Now it is time to layout where the usb hub, is going to be:
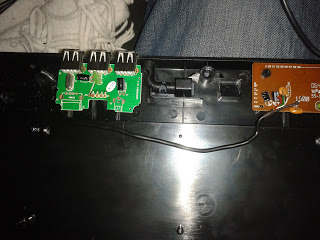
When you have found the place where, you’ll want to have the usb switch, then mark where the usb ports are, and start cutting about half of the usb ports. Here I will suggest that you use an dremel cutting tool or something like it. I used an knife, and it took a long time and I got some cuts on my fingers. After being finished with the bottom half, then proceed to the top half, and mark an cut it.
Then it is time, to add the new wires. My first thought was to use the usb cable from the usb switch, but I was’nt able to resolder them on, not with out some of the wires, pulling out when soldering a wire. So I did use some scrap wires, that I had lying around, for the usb connection for the usb keyboard.
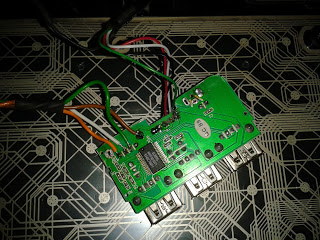
As there can be seen on the last picture above, I have already solder the usb cable from the usb keyboard on the usb switch, that cable was a better quality than the one from the usb switch. Some pictures of the finished product in use:
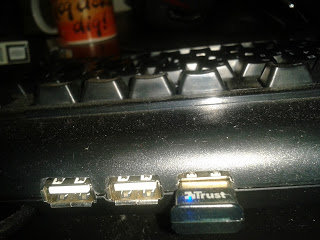
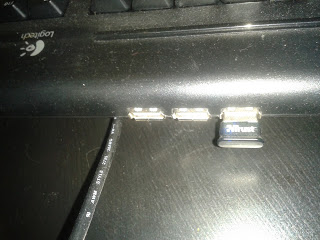
It works, quite well, but I have noticed that it gets hot, where the usb switch is placed, so perhaps I’ll have to do something about it at some point.